
Last Updated: November 5, 2026
Quick Summary
Professional window tinting installation is a seven-step process: prep the work environment, clean the glass and strip residue, manage trim and obstructions, measure and cut the film, heat-shrink film for curved glass, peel the release liner and position the film, then remove water, inspect, and cure. Skipping a step causes bubbles, peeling, or early film failure.
- A clean bay with filtered air and no draft keeps debris off wet film.
- Curved glass needs heat shrinking with a heat gun; flat glass skips this step.
- A slip solution lets the film slide into position before the adhesive grabs.
- A sedan or coupe typically takes 2-3 hours, while an SUV or truck takes 3-4 hours.
- Expect a dry time of a few days to a couple of weeks as the film cures.
Table of Contents
- The Professional Window Tinting Installation Steps, Start to Finish
- How Long Does Professional Window Tinting Take?
- Window Tint Curing Time After Installation: What's Normal
- Window Tinting Mistakes That Ruin a Good Job
- Frequently Asked Questions
The Professional Window Tinting Installation Steps, Start to Finish
Professional window tinting installation is a multi-stage process that starts with cleaning the glass and ends with a final inspection before the film cures. Skip a step and you get bubbles, peeling, or a film that fails early.
Below are the seven steps in the window tinting installation process, plus the timing, curing behavior, and mistakes that decide whether the job lasts.
Step 1: Prep the work environment
Dust is the enemy. A clean bay with filtered air and no draft keeps debris off wet film.
Step 2: Clean the glass and strip residue
Glass cleaning comes first, and it is the step most DIY jobs rush.
Step 3: Manage trim and obstructions
Installers remove or tuck interior trim, gaskets, and obstructions so film sits flush to the edges. This is where a careful installer separates a clean result from a lifted edge later.
Step 4: Measure, cut, and trim the film
Measure the window, cut film slightly oversized, and trim to fit. A slip solution in a spray bottle lets the film slide into position before the adhesive side grabs.
Step 5: Heat-shrink film for curved glass
Curved glass needs heat shrinking. A heat gun relaxes the film so it follows the curve without fingers or creases. Flat glass skips this step.
Step 6: Peel the release liner and position the film
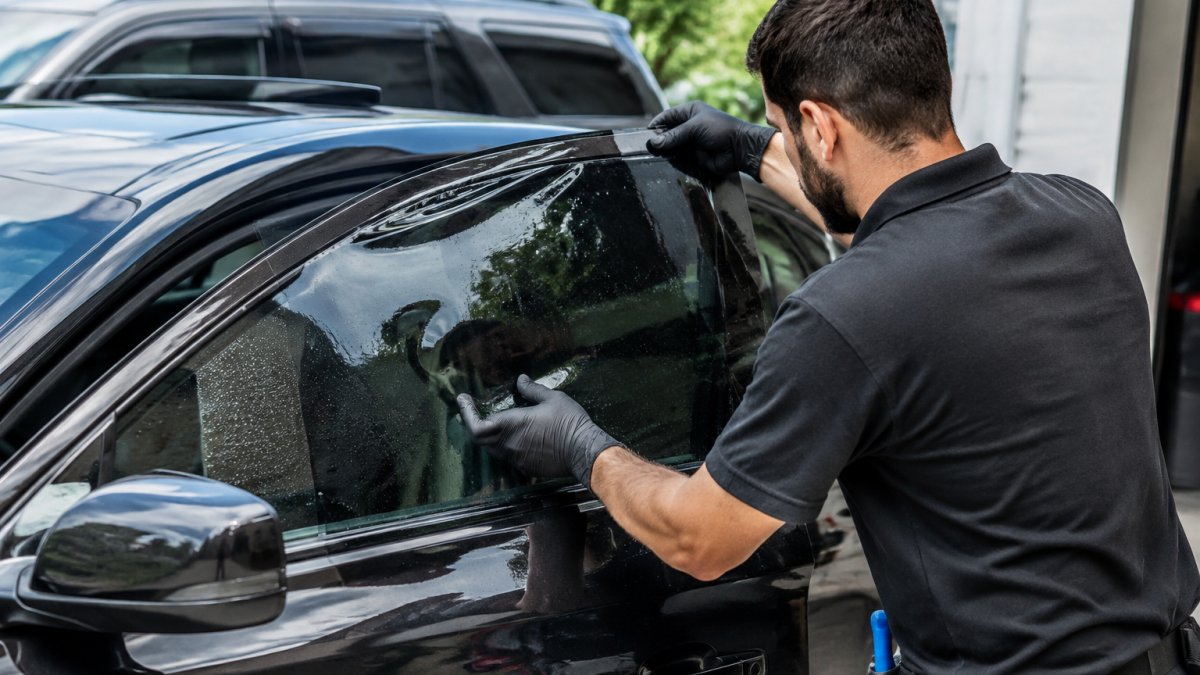
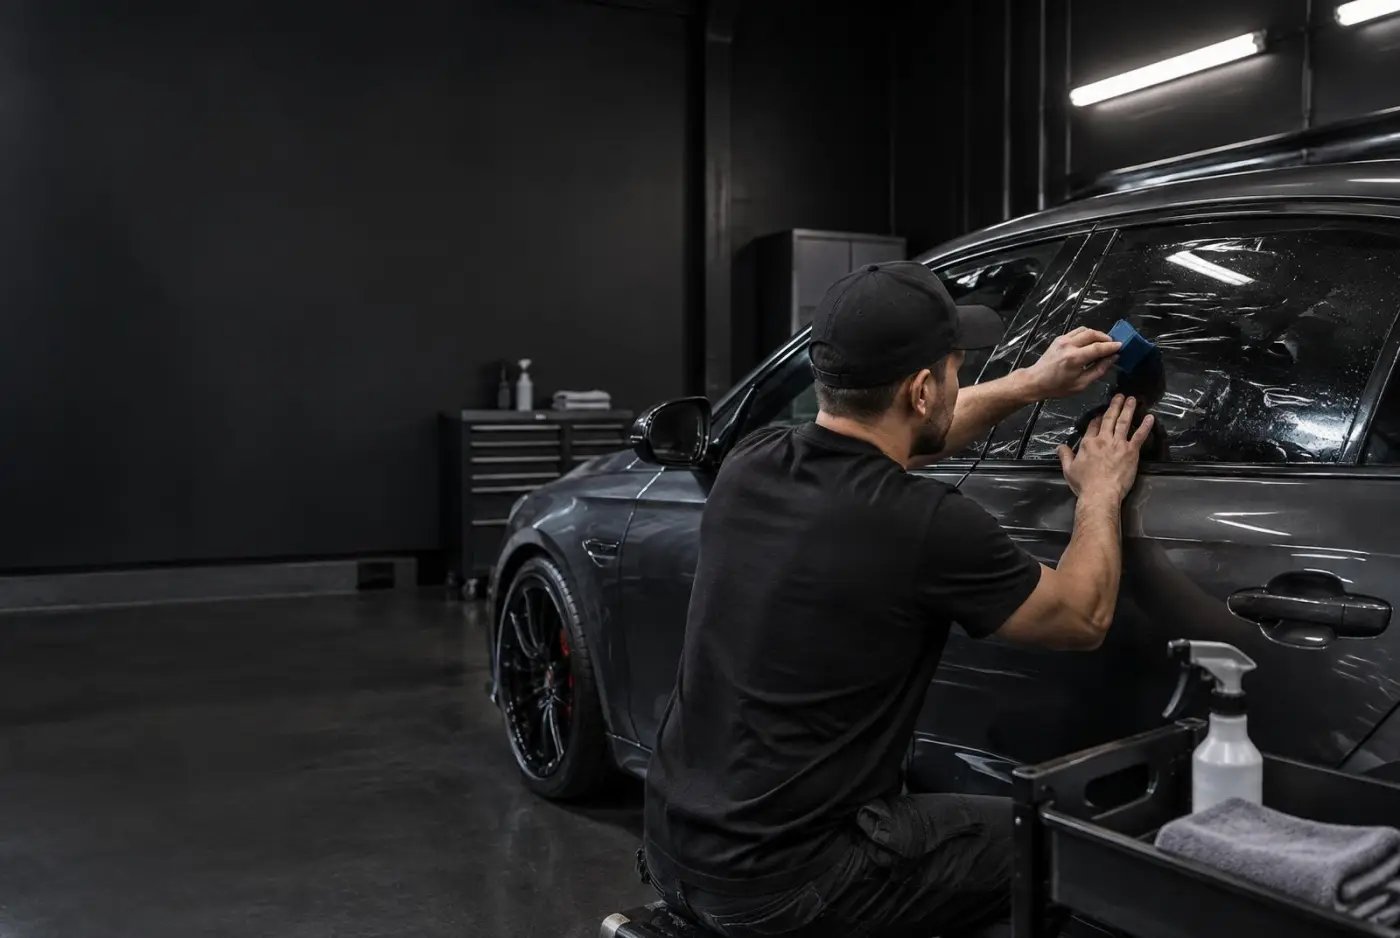
Peel the release liner, wet the glass, and lay the film adhesive side down. A rubber squeegee or film squeegee pushes the slip solution out from the center outward.
Step 7: Remove water, inspect, and cure
Expect a dry time of a few days to a couple of weeks as the film cures (After You Buy).
Want this done for your car, home, or office? See our automotive window tinting, residential window tinting, and commercial window tinting services.
How Long Does Professional Window Tinting Take?
Here is a realistic breakdown:
| Job Type | Typical Time | Main Time Drivers |
|---|---|---|
| Sedan or coupe | 2-3 hours | Curved rear glass, trim removal |
| SUV or truck | 3-4 hours | More glass, larger panels |
| Home or office | Half day to full day | Number of windows, access |
Window Tint Curing Time After Installation: What's Normal
During curing, the film may look hazy and show small water pockets. That is normal.
What to expect while it cures:
- Small bubbles and haze fade as moisture evaporates
Window Tinting Mistakes That Ruin a Good Job
Ask about workmanship standards and what the warranty covers, so you know your recourse if a defect appears.
Frequently Asked Questions
How is professional window tinting done?
The film is applied to the glass and then cures over the next few weeks.
How long should I wait before rolling down my windows after tinting?
Ask your installer for the exact timeline for your film and climate.
Why does window tint look hazy or have small bubbles after installation?
Small bubbles and a slight haze are normal during curing. If you notice large bubbles, grit trapped under the film, or edges lifting, raise it with your installer.
Tint that bubbles or peels usually traces back to a rushed step in the process. Driftcore window tint brings the full installation to your driveway or office, using 99% UV rejection ceramic film and backing every job with a lifetime warranty for as long as you own your vehicle. Get a free quote from Driftcore window tint and get cooler, clearer glass without the guesswork.
