
Last Updated: November 6, 2026
Quick Summary
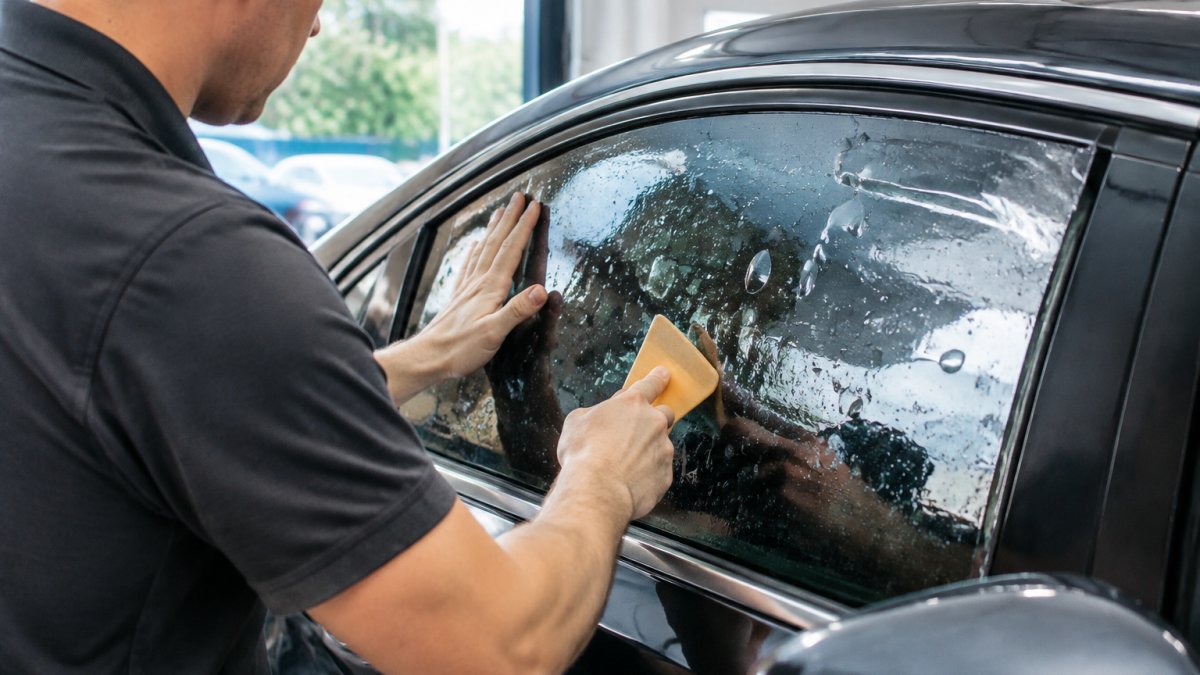
To prevent window tint bubbling, get the installation right the first time with clean glass, quality film, and a controlled application, then let the film cure without touching it. Trapped moisture pockets fade within days to a few weeks, but sharp, clustered, or persistent bubbles signal trapped air or adhesive failure. Never roll windows down or press the film during the first two weeks.
- Trapped moisture pockets are normal and fade as water evaporates over days or weeks.
- Sharp, defined bubbles that appear right after installation never shrink and mean trapped air.
- Treat the first two weeks as a diagnostic window and do not touch the film.
- Bubbles that persist past two weeks usually will not fix themselves.
- Never scrape or use sharp tools near defroster lines on a back window.
Table of Contents
- Why Window Tint Bubbles Appear in the First Place
- Window Tint Bubbles After Installation: What's Normal and What Isn't
- How Long Until Bubbles in Tint Go Away
- How to Remove Bubbles From Old Window Tint
- How to Fix Bubbling Tint on the Back Window
- Get a Free Quote for Bubble-Free Ceramic Tint
- Frequently Asked Questions
Why Window Tint Bubbles Appear in the First Place
Bubbles are one of the most common reasons a tint job fails, and most cases trace back to one of three causes. Knowing which one you're dealing with is the first step in how to prevent window tint bubbling before it ever starts.
Window tint bubbles form when something gets trapped between the film and the glass, or when the adhesive itself gives out.
Trapped Moisture vs. Trapped Air vs. Adhesive Failure
Each cause looks different and needs a different response:
- Trapped moisture: small, even pockets that fade as water evaporates over days or weeks.
- Trapped air: sharp, defined bubbles that appear right after installation and never shrink.
- Adhesive failure: lifting edges, cloudy patches, or bubbles that spread months or years later.
The International Window Film Association notes that proper surface prep and cure time are the two biggest factors in a clean installation. Miss either one, and bubbles are almost guaranteed.
Window Tint Bubbles After Installation: What's Normal and What Isn't
Small moisture pockets in the first few days are normal. Permanent bubbles are not. The hard part is telling them apart before you either panic or wait too long, so treat the first two weeks as a diagnostic window rather than a verdict.
Fresh film traps a thin layer of installation solution under the adhesive. That moisture has to escape, and it does so through tiny, evenly spaced pockets that dry out on their own. The mechanism matters: water vapor passes through the film's adhesive layer and exits at the edges, which is why curing pockets cluster near the perimeter and thin out toward the center. A bubble in the middle of the glass that never changes size is not curing, it is trapped air or a contaminant.
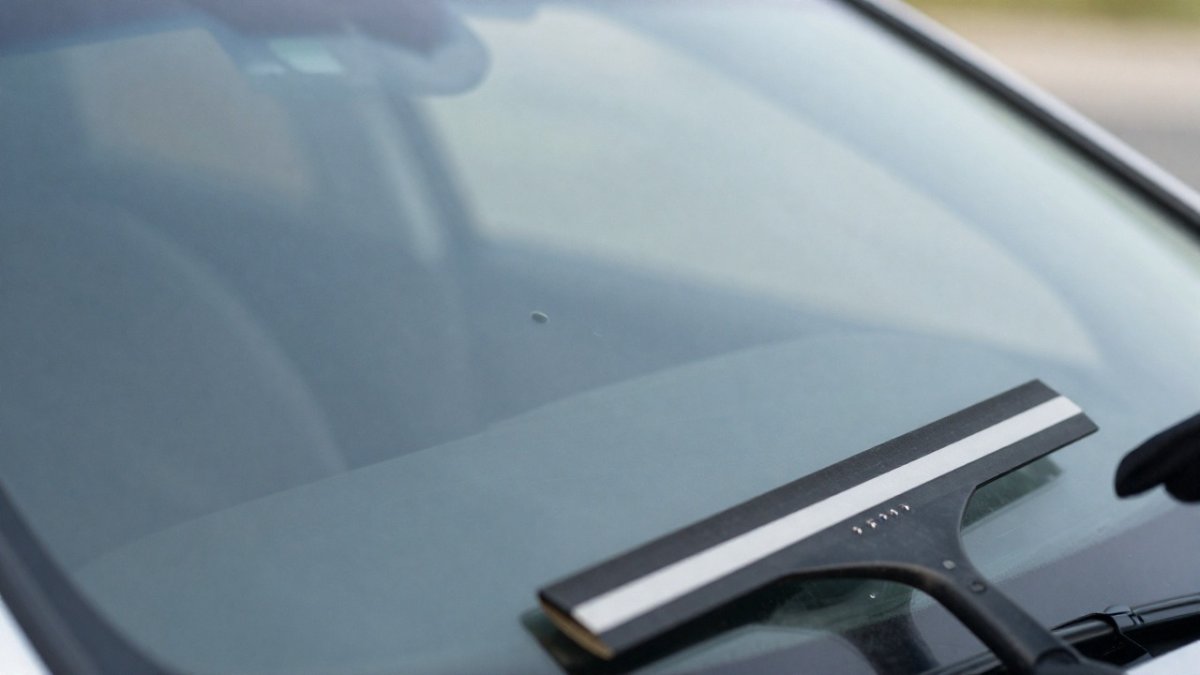
Here's how to tell them apart:
| Sign | Normal Curing | Adhesive Failure |
|---|---|---|
| Location | Even, near edges | Random, clustered, or center |
| Appearance | Slightly cloudy, silver sheen | Sharp, lifting, or milky white |
| Timeline | Fades over days to a few weeks | Persists past two weeks or spreads |
| Feel | Smooth, flat | Bubbled, rippled, or peeling at edges |
| Response to warmth | Shrinks in sun | Unchanged or worse |
A practical diagnostic sequence to follow:
- Day 1-3: Expect haze and small edge pockets. Do not touch the film. Do not roll windows down.
- Day 4-7: Pockets should be shrinking and the haze should be clearing from the center outward. If the center is still cloudy, note it.
- Day 8-14: Remaining pockets should be small and near edges. Any sharp bubble, clustered bubble, or bubble that has grown is a failure symptom, not curing.
- After two weeks: Anything left is permanent. Stop waiting and diagnose the cause before choosing a fix.
Watch out: a bubble that feels gritty under a squeegee, or that has a visible speck at its center, is contamination, dust or debris trapped at installation, and no amount of heat or waiting will clear it.
If bubbles are sharp, clustered, or still there after a couple of weeks, you're dealing with trapped air or failing adhesive, not normal curing. Identify which before you reach for a needle or a heat gun, because the wrong fix turns a cosmetic issue into a replacement.
How Long Until Bubbles in Tint Go Away
Normal curing moisture clears within a few days to a few weeks, depending on weather and sun exposure.
Warm, sunny conditions speed this up. Cool, cloudy weather slows it down. Park in direct sun when you can, and don't roll the windows down during the cure window.
Bubbles that persist past two weeks usually won't fix themselves. At that point, a professional should assess whether a repair or replacement is needed.
How to Remove Bubbles From Old Window Tint
Old tint bubbles rarely respond to DIY tricks once the adhesive has failed. In most cases, the film needs to come off and be replaced.
For small, isolated bubbles on older film, a few approaches are worth trying:
- Warm the film gently with a hair dryer to soften the adhesive.
- Press and smooth the bubble toward the nearest edge with a squeegee.
- Prick tiny air bubbles with a pin, then smooth the film flat.
Watch out: pricking or heating old, brittle film can tear it or leave a haze that never clears. If the tint is years old, replacement is the honest fix. For more in-depth tinting guides and tips, see our tint tips and guides.
How to Fix Bubbling Tint on the Back Window
Back windows are the hardest to fix because of the defroster lines. Those thin conductive traces sit right under the film, and heat, pressure, or a slipped blade can sever them permanently. A damaged grid means a dead defroster, and replacing a rear window with a working grid costs far more than new tint, so the repair limits here are stricter than on side glass.
Safe repair limits on a rear windshield:
- Small moisture pockets: let them cure on their own. Do not heat, press, or prick during the first two weeks.
- Isolated air bubbles under a quarter-inch: gentle heat from a hair dryer on low, held at least six inches away and kept moving, then a soft squeegee with light pressure only. Never press hard over a defroster line.
- Bubbles larger than a quarter, or any cluster: replace the film. Patching a large bubble on a rear window almost always spreads and lifts the surrounding adhesive.
- Bubbles sitting directly on a defroster line: do not prick or scrape. The trace is at its most vulnerable there, and a pinhole in the film over a trace traps moisture against the element.
- Milky or cloudy patches: adhesive failure. Replace; heat will not restore clarity.
A decision rule that keeps most DIYers out of trouble: if the fix requires a needle, a blade, or sustained heat over a defroster line, stop and replace the film instead. A severed grid can be far more costly to address than the film itself.
Watch out: scraping old adhesive off a rear window with a razor blade is the single most common way DIYers kill a defroster. If the film must come off, use a steamer or a dedicated adhesive remover and let the film release rather than cutting at it.
Never scrape or use sharp tools near defroster lines. When in doubt on a rear window, replacement is the safer and often cheaper path.
Get a Free Quote for Bubble-Free Ceramic Tint
The surest way to prevent window tint bubbling is to get the installation right the first time. That means clean glass, quality film, and a controlled application.
At Driftcore window tint, we bring mobile ceramic tinting to you and back every installation with a lifetime warranty for as long as you own your vehicle. Our 99% UV rejection ceramic film is designed to deliver cooler interiors, UV protection, and privacy without bubbling, peeling, or discoloration.
Skip the DIY guesswork. Get a free quote for automotive window tinting to discuss your project with our team.
Bubbles come from rushed prep, cheap film, or a bad cure, and each one is preventable. If you want tint that stays smooth for the long haul, Driftcore window tint delivers mobile ceramic installation with a lifetime warranty, 99% UV rejection, and no bubbling, peeling, or fading. Get started with Driftcore window tint and enjoy a cleaner, cooler cabin from day one.
Frequently Asked Questions
Can bubbling window tint be fixed?
It depends on the cause. Small moisture bubbles that appear in the first few weeks usually disappear on their own as the film cures. Air bubbles, trapped debris, and bubbles along the film edge after the curing window has passed generally cannot be fixed without removing and reinstalling the film. If the adhesive has failed or the tint has started peeling, replacement is the only reliable option. Identifying the cause before you try a repair saves you from making the damage worse.
How long does it take for window tint bubbles to go away?
Most moisture bubbles clear within 2 to 4 weeks, though the exact timeline depends on weather, humidity, and whether the car sits in direct sunlight. Film cures faster in warm, dry conditions and slower in cool, damp ones. Bubbles that are still present after about a month, or that grow rather than shrink, are not curing haze. At that point the film needs to be inspected by a professional installer to determine whether it should be replaced.
What causes window tint to bubble after installation?
The most common causes are dust and dirt trapped under the film during application, moisture that has not fully cured, air pockets left by incomplete squeegeeing, and adhesive failure from low-quality film or poor surface preparation. Contamination is the biggest culprit: even a small amount of dust on the glass surface creates a permanent bubble once the film adheres. Professional installers clean and prep the glass in a controlled environment to prevent this.
How do you fix bubbling tint on a rear window with defroster lines?
Rear windows are the hardest to repair because the defroster lines sit directly under the film. A heat gun or hair dryer can soften small bubbles and let you press them flat with a squeegee, but too much heat can damage the defroster grid and the film itself. If the bubbling is widespread or the adhesive has failed, the film must be removed and replaced. A professional installer can strip old film without damaging the defroster lines, which is difficult to guarantee with a DIY repair.
